Equipment
I purchased a Moonglow Technologies Allsky Camera in 2012. I currently have the camera mounted on the roof of my house, near the peak. The mounting was accomplished using a satellite TV mount. I contacted one of the local Direct TV installers to come out and mount it to the roof for me. My roof is pretty steep, and I knew that they would probably do a better job getting it securely mounted and run the wires and cables down my ridge line and into the basement. I purchased a 60 foot power video extension cable to get the signals into my basement.

Roof Mounted All Sky Camera
For processing I purchased a refurbished HP Pavilion P2-1033W Desktop PC. I upgraded the RAM to 8 GB. It is not the fastest or greatest computer, but for $200 it does the job fine. In December of 2015 I used the free Windows 10 upgrade to change from Windows 7 to Windows 10 on the PC, and the software and hardware have been working fine.
I am using the All Sky Camera Uploader for Windows as the software to process the video signal. I am on Version 1.3b4. The software kit included the USB 2.0 video digitizer. I have the software configured to store a RAW and a PAN image each minute. I also save an 30 minute image stack, and a 24 hour summary of day photo each day.
I currently have automatic uploads turned on to send images to my web site. I store a RAW and a PAN image every 5 minutes, keeping a total of 12 for a 1 hour “loop”. These are the 12 pictures that you can step through with the previous and next buttons, or animate by clicking play, on the static home page. I also upload the summary of day each night, and have a Shockwave Flash movie uploading throughout the day.
I have not been able to utilize the ASC Uploader motion detection software. Unfortunately the software has an issue with my time and location, so it thinks daytime is night and runs the meteor detection during the day, giving me photos of the sun and clouds. I have not been able to get this issue resolved, and it is kind of disappointing to have to check the 30 minute stacks on my own for meteors and fireballs.
I would be interested in hearing about alternatives to uploading and monitoring software, and would like to know what you are using, and if you like it.
For a while I just had the PC sitting in the basement with no monitor. I have since hooked up an old monitor to it, but I use Real VNC Viewer software for a remote desktop connection to the PC. I have the bios configured on the PC to automatically start up after a power outage, so the camera will come back on if the power goes out. I also have a batch file that executes on startup to automatically launch the ASC Uploader application.
For the first few years I operated the sky camera, I was plagued by dew and frost. Despite the web site saying a dome heater isn’t required, where I live, in Western New York, you get an awful lot of dew and frost on the camera, ruining many a clear night of sky watching. In 2015 I needed to get the camera refurbished as the seal had deteriorated and water entered the dome. The camera was refurbished and shipped back to me for free. I also purchased the dome heater at this time. This piece of equipment currently keeps all dew and frost from restricting my view, and is a real life saver. Now, if only I could get rid of the clouds. Rochester is one of the most cloudy cities in the USA.
People online indicated that connecting the heater directly into the power for the Allsky camera could cause interference and loss of signal, so I ran a second power line up to the heater itself. I purchased this extension cable from Amazon.
So that is pretty much it. I am always interested to hear more about affordable Allsky cameras. The Moonglow Technologies camera has been a great way to get my feet wet with sky watching, but I would love to find a nicer, higher resolution camera at some point. Also a bummer that we haven’t had any great displays of Northern Lights in the last 15 years.
Automated Summary of Day Movie and Upload
This fall (September 2019) I decided that I wanted to try and automate the creation of a summary of day (SoD) movie and see if I could upload it to this web site. The end result you can see on the main page, it is always the sod.mp4 video.
To accomplish this task, I created a windows batch file that uses ffmpeg to create a movie from the files the allsky camera takes each day. I also downloaded winscp to use to upload the file to my website. I created a scheduled task on my windows machine that has the AllSky camera archive on it. It runs each night a 2:30am to execute the windows batch file. This ensures every day in the early morning the previous days summary movie is created and uploaded to the website, waiting for me each day.
I use a tool called ffmpeg to create the SoD (Summary of Day) movie. ffmpeg is free to use and has a lot of options for creating movies from the command line.
To use ffmpeg, I unzipped the files into a folder on my hard drive (in my case the folder is D:\BACKUP\ffmpeg\). Then I updated the environment variables on my PC so that ffmpeg was a part of the PATH and I can execute ffmpeg commands. To do this:
- Search windows for “environment” and open the “Edit the System Environment Variables” option from the “Control Panel”.
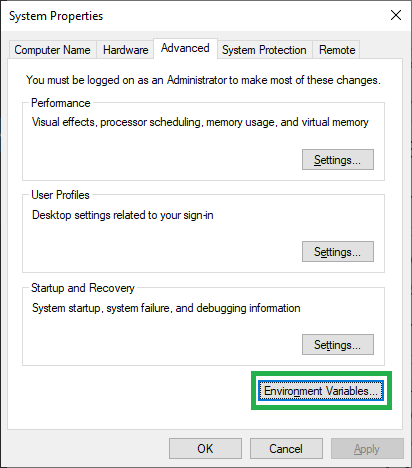
- Select “Environment variables…” from the “Advanced” tab.
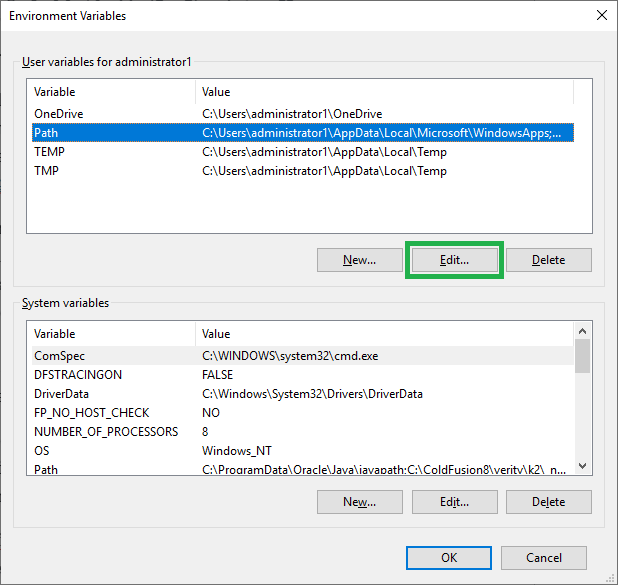
- Select the “Path” variable and click “Edit”.
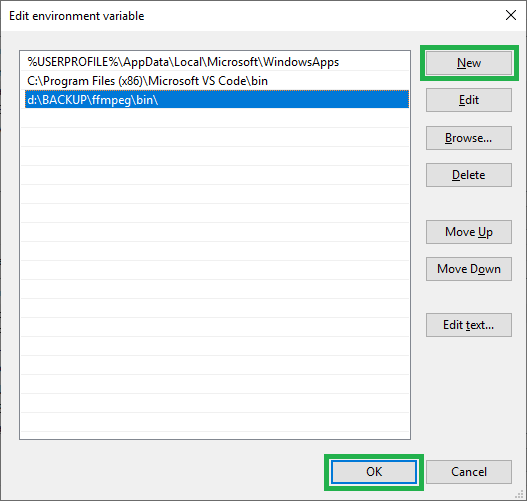
- Select “New” and enter the path to where you have stored ffmpeg.
- When done, save your work, open a command prompt cmd.exe and test that ffmpeg works by typing “ffmpeg -version”
Edit Environment Variables
Edit Variables
Edit Path
Add ffmpeg to Path
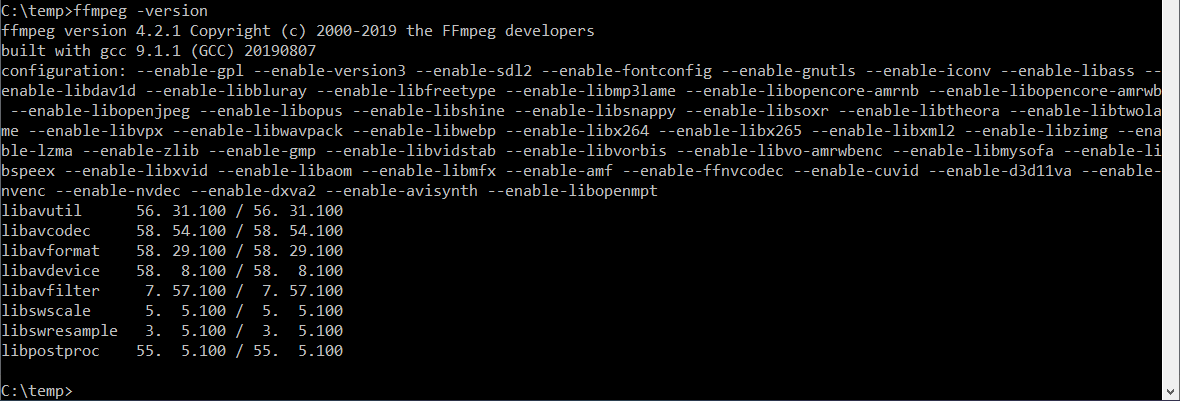
Test ffmpeg
Now that ffmpeg is installed, I created the batch file. The batch file is located in the root directory that the allsky images are written to. In the script, this directory is saved as currDir (Current Directory).
To create the SoD movie, I needed to navigate the directory structure to get to yesterday’s image files. To do this, the simplest way that I found was to use the Visual Basic date() function. I wrote a vbs file and saved it in the root directory called yesterday.vbs. The contents of the file is code to give me yesterday’s date.
d = date() - 1
wscript.echo year(d) * 10000 + month(d) * 100 + day(d)
This file can be called from the batch file to return yesterday’s date.
I created a file called allsky_movie.bat. In this file I call the yesterday VB script to get yesterday’s date.
rem parse yesterdays date
for /f %%a in ('cscript //nologo yesterday.vbs') do set yesterday=%%a
rem echo %yesterday%
You can test that the command works by printing the output returned with the “echo” command. You can comment out lines of code with the “rem” command. The code above gets yesterday’s date and stores it in a variable called “yesterday”.
Next step is to parse out the year, month, and day so that we can traverse the directory structure and get to all the image files created yesterday. Since the data is always in the same format, it is easy to get the date pieces using sub strings.
rem parse the date into pieces
set year=%yesterday:~0,4%
set month=%yesterday:~4,2%
set day=%yesterday:~-2%
Now that we have the data needed, store our current directory (so we can get back to it), and lets change directories into the folder with all the image files. Store this directory in a variable named dayFilePath.
rem what is our current directory
set currDir=%cd%

rem build directory to cd into
set dayDirectory="%year%/%month%/%day%/"
cd %dayDirectory%
echo %cd%
set dayFilePath=%cd%
Next step I create the file names for all the files that are going to be created. I want to store the SoD movie in the folder for the day it was created. I am going to name that file with the date_sod.mp4. I also am going to store the complete path to that movie file so that I can move it or copy it later. Finally, I want to store a version of the file for upload that is generic (sod.mp4) so that I don’t need my website to try and dynamically come up with the file name, and I can just overwrite the file each day without updating the link. Here is the code to create and store those file names and paths.
rem make output file name
set outputFile="%yesterday%_sod.mp4"
set outputFilePath="%dayFilePath%/%yesterday%_sod.mp4"
set uploadFilePath="%currDir%/sod.mp4"
OK, all set. We have the daily movie that is going to be created, the path to that movie, and the path to where we want to store the movie when done. That is in our root directory, under the generic name sod.mp4.
The AllSky software that I use stores the file names in the format YYYYMMDD_HHmm_raw.jpg. Where YYYY represents the year. MM represents the Month, DD the day, HH the hour, and mm the minutes. ffmpeg is expecting all the files to be in numeric order. So this is a problem. Because when the hours change on a day, the files go from:
20191005_1159_raw.jpg to 20191005_1200_raw.jpg
Going from 59 to 00 doesn’t work for ffmpeg. So I created code in a loop to copy the AllSky files into new files with a generic numeric count. When this loop is done, all the _raw.jpg files will be copied to files named img_0001.jpg to img_1440.jpg. They will be sequential and ready for ffmpeg. As a bonus, if there are any gaps in the allsky photos time wise, this copy loop will smooth that out and make a movie of what is left.
The loop searches the directory for files that fit the format “*_raw.jpg”. So I know it will operate on all the raw image files captured. It creates new files of the format “img_XXXX.jpg”. The formatted number code makes sure the numbers all have 4 digits (leading zeros).
rem loop over files, copy and rename them
setlocal enabledelayedexpansion
set /a count = 0
for /f "delims=" %%a in ('dir *_raw.jpg /b /a-d ') do (
    set /a count += 1
    set "formattedNumber=000!count!"
    set "newFileName=img_!formattedNumber:~-4!.jpg"
    rem copy to new filename
    copy "%%a" "!newFileName!"
)
Now that the new sequentially ordered files are created, we can call ffmpeg to create the movie.
rem make mpeg
ffmpeg -r 15 -start_number 1 -i img_%%04d.jpg -s 720x480 -vcodec libx264 %outputFile%
This call to ffmpeg will produce a movie with 15 images per second, starting with image number 1, of the file name format I created. The movie will be the resolution of the images the AllSky camera captured (720×480), and will be written to the output file I specified.
When the ffmpeg operation is completed, I clean up the temporary files I created to make the movie. And then copy the movie file I created back into the root directory and rename it sod.mp4. It will be ready for upload to the website.
rem cleanup
for /f "delims=" %%a in ('dir img_*.jpg /b /a-d ') do (
del %%a
)

rem copy new movie file and paste it in current directory
echo Copy %outputFile% to %uploadFilePath%
copy /y %outputFile% %uploadFilePath%
I tried to use the windows ftp command to upload my file to my web site, but the hosting provider I am using required passive ftp to send the file up, and windows ftp doesn’t support passive ftp from the windows command prompt.
Therefor I downloaded WinSCP and installed it on my PC to upload the file. I needed to know a user name, password, hostkey, and the IP Address of the site I was uploading to, which I was able to acquire from my hosting service. There is a pretty good tutorial for converting a windows ftp script to a WinSCP script.
Here is the windows ftp code I could not use:
echo user user_name> ftpcmd.dat
echo password>> ftpcmd.dat
echo passive>> ftpcmd.dat
echo bin>> ftpcmd.dat
echo cd path_to_place_file>> ftpcmd.dat
echo put sod.mp4>> ftpcmd.dat
echo quit>> ftpcmd.dat
ftp -n -s:ftpcmd.dat host_url
Here is the WinSCP code I did end up using:
rem use winscp to ftp the file to the allsky server
echo open ftp://user_name:password@host_url/ -hostkey="host_key=">> ftpcmd.dat
echo cd path_to_place_file>> ftpcmd.dat
echo put -transfer=binary sod.mp4>> ftpcmd.dat
echo close>> ftpcmd.dat
echo exit>> ftpcmd.dat
"C:\Program Files (x86)\WinSCP\winscp.com" /ini=nul /script=ftpcmd.dat /log="C:\temp\winscp.log"

del ftpcmd.dat
You can run the batch file as you are writing it, and you can run it when you are done to make sure it is following the steps you expected and generating the file. Once you are sure everything is working create a scheduled task that will run on your machine to automate the upload each day.
Here is a pretty good tutorial on how to create a scheduled task. You can even test that the task will run by clicking the run icon. I suggest you do this, because if everything isn’t configured correctly you will not know it until your task doesn’t run. I set my task to run once each day at 2:00am.
So there you have it. Everything you need to know to use ffmpeg to create a movie file and upload it to your website. I hope someone finds this useful.